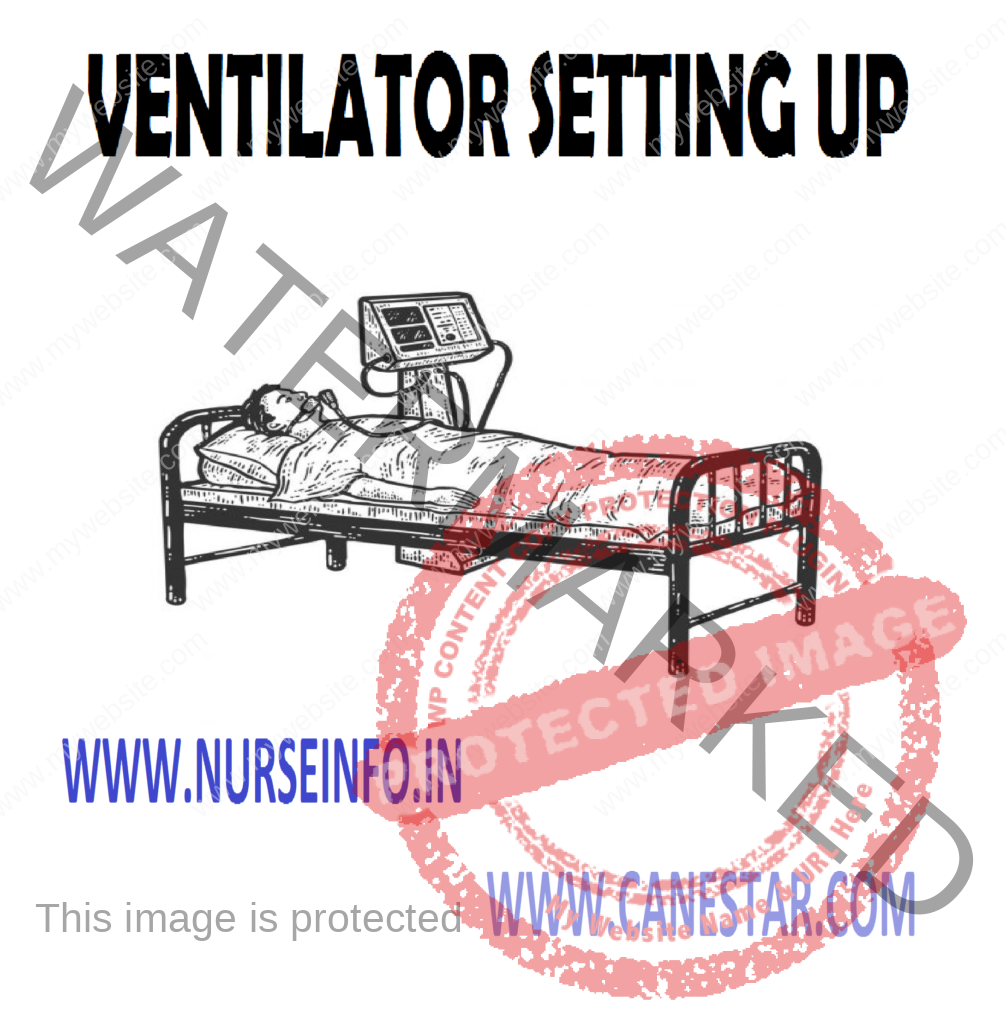
VENTILATOR SETTING UP – Ventilator Checks, Complications of Mechanical Ventilation, Fluid Retention and Hemodynamic Alteration and Ventilator Trouble Shooting
Airway has to be established either by endotracheal tube or tracheostomy tube before connecting. The patient to the mechanical ventilator setting up may vary depending on the type of ventilator used, its features and settings; setting up of a volume ventilator is given below. A volume-controlled ventilator (MAT, Beat Servo) will deliver set tidal volume with varying pressures. Variables which control ventilation and oxygenation are:
- Tidal volume: set by tidal volume knob measured as inhaled volume. The normal tidal volume of a spontaneously breathing patient is 5-6 m/kg. while setting up one seeks to deliver 10-15 ml/kg of ideal body weight
- Ventilator rate adjusted by rate knob, 8-10/minute. Adjusted depending on blood gas analysis
- Fraction-inspired oxygen concentration (FiO2): is set on ventilator or with an oxygen blender and measured with an O2 analyzer. FiO2 may be set at 100% initially and reduced depending on PaO2 level which should be kept above 60 mm of Hg
- Sensitivity setting: increased indications that very low negative pressure is required to trigger the machine
- Type of ventilation: controlled or assist/control/MV/SIMV/PEEP> (set with in the ventilator with the use of external devices). Routinely 5 cm PEEP is added for adult patient. Exact levels are adjusted for individual patient
Ventilator dead space: circuit common to inhalation and exhalation. Tubing is calibrated
CO2 elimination: controlled by tidal volume, rate and dead space
Oxygen tension: controlled by O2 concentration and PEEP
Inspiratory flow rate and inspiratory expiratory ratio: depending on the type of ventilator employed there are different ways to determine the inspiratory and expiratory times. In some they are set in seconds – normal being 0.5 – 1.5 seconds. The I:E ratio is 1:2 – 1:3. Minute volume = tidal volume multiply rate/mm, normal about 6-8 liters/mm
Airway pressure: normal 15-20 cm/H2O
Low airway pressure is seen with air leak. High airway pressure is seen increased secretions, airway obstruction, bronchospasm, edema, pneumothorax, flail chest, patient out of phase with ventilator
Sigh: the lungs are hyperinflated periodically to open collapsed alveoli. The sigh is given by machine or manual hand bag ventilation. Sigh volume is 2 times tidal volume every 5-10 minutes
Humidification: it helps to prevent atelectasis and secondary infection. Bubble diffusion humidifiers provide molecules of water and saturate the inspired gas to 100% humidity
Alarm systems: the ventilator is equipped with alarms to ensure safety, oxygen alarms, high and low pressure alarms: apnea alarms are all included in an ideal ventilator
VENTILATOR CHECKS
The ventilator should be checked regularly for proper functioning, proper setting, appropriate alarm setting and proper delivery of humidification. Humidifier should be filled with water to the level indicating that it is full. Heating level is adjusted so that the inspired gas is at 37 degree celcius. Warm airway temperature can improve mobilization of secretions. Water should be drained as it accumulates in the tubing of the ventilator. This can be avoided by the use of heated use circuit
COMPLICATIONS OF MECHANICAL VENTILATION
- Atelectasis occurs due to retained secretions, hypoventilation and bed rest. Chest physiotherapy suctioning and adjustment of ventilator sighs. Hydration is the measures to combat this complication
- Pneumothorax (Barotrauma): it occurs from barotrauma from positive pressure ventilation. Pressure is adjusted to normal level to prevent pneumothorax especially when positive end expiratory is used
- Oxygen toxicity: oxygen toxicity occurs from high FiO2 ventilator setting. Arterial blood gas is monitored. Positive end expiratory pressure is initiate FiO2 is decreased
- Infection: patient on mechanical ventilator develops infection as there is loss of upper airway defense. Meticulous aseptic technique is required in all invasive procedures. Antibiotic therapy is initiated when necessary
- Respiratory acid-base imbalance: add dead space to the ventilator and decrease the tidal volume
- Gastric ulceration: in a study, it was found that 40% of patient on positive pressure ventilation
Without prophylactic antacid developed gastric ulcer in 3 days. To prevent it administer antacid prophylactic and start on early nasogastric tube feeding
FLUID RETENTION AND HEMODYNAMIC ALTERATION
Patients on mechanical ventilator develop fluid retention which is not associated with heart failure. Restriction of left ventricle filling and limitation of intrathoracic pump effect occurs with the use of positive end expiratory pressure. Plan the fluid administration carefully. Monitor fluid balance and increase PEEP gradually
Psychological trauma. Panic has been the common psychological reaction found in patients who are on mechanical ventilation
VENTILATOR TROUBLE SHOOTING
The optimal response to the problems with ventilators is a calm systematic action. When there is alarm or trouble shooting one must assess quickly whether or not the patient is in any danger.
If there is a problem with working of the ventilator patient is manually ventilated with Ambu bag connected to oxygen source. After the patient is stabilized one must look for disconnected ventilator circuit, coiled ventilator tubing, need for suctioning and the alarm system and search for possible cause of triggering of alarm such as pressure limit alarm for obstruction, low tidal volume due to loosely fitted section of tubing. The volume can be measured with a spirometer to see whether it is different from the preset volume. If the volume is same as the preset volume then the trouble is not with ventilator. After this, the humidifier is check for any leak source. The volume is measured distally towards the patients. If the volume measures less with humidifier connected, it is the source of a leak.
All the ventilator tubing should be checked for an airtight fit. Be sure to rule out an endotracheal tube cuff falling back. An Ambu bag should be kept near a patient on mechanical ventilator always to use in case of trouble shooting, mechanical or electrical failure