
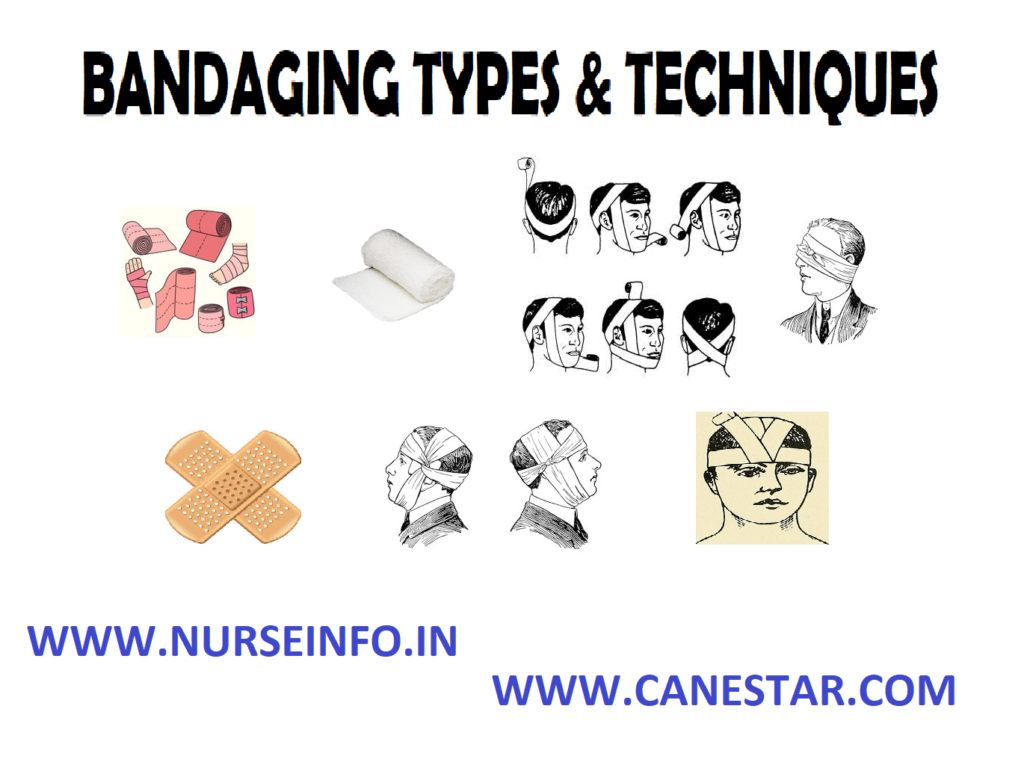
BANDAGING (Definition, Purpose, General Principles, Types and Techniques)
Updated 2024
A bandage is a strip of fabric used to dress and bind up wounds. In medicine, bandage refines and elaborates upon this basic form, combining it with casts, slings, and splints to heal all kinds of injuries. It is important to do the proper bandaging technique when using and administering first aid on a wound or injury. The main goal of placing a bandage on an injury is for immobilization, protection, support or compression. If the bandaging technique is not done properly, it could exacerbate the damage.
DEFINITION
A bandage is any gauze or cloth material used for any of the purpose to support or to hold or to immobilize the body part. Bandaging is a technique of application of specific roller bandages to different parts of body
PURPOSE
- To control bleeding by pressure
- To immobilize sprained or fractured limb
- To hold a dressing or compress in place
- To secure splints in case of fracture of deformity
- To protect open wound from contaminants
- To provide support and aid in case of varicose veins or impaired circulation
COMMON NURSING PROCEDURE IN HOSPITALS CLICK HERE
GENERAL PRINCIPLES
- The patient should be placed in a comfortable position and it should convenient for the nurse
- The position of the part to be ban aged should be well supported and elevated if necessary
- The nurse should stand directly in front of the patient or facing part to be damaged
- A bandage should accomplish its purpose. It may be used to hold dressing in place, to support a part or to immobilize
- Apply and fix bandage at least two circular turns around part is its smallest diameter, so that it can stay in place
- Skin surfaces should be separated. They may be separated. They may be separated by either gauze or cotton. In the application of casts, special padding is used over bony prominences
- Always bandage to the right
- Exert even pressure as far as possible. The bandage should be done in the direction of the venous circulation
- Do not cover the ends of the finger or toes, unless it is necessary in order to cover the injury. It is necessary to observe circulatory changes
- Never apply a wet bandage. When wet bandage applied, terms to shrink and become tight as it dries
- Do not apply a bandage too loosely because it may slip and expose the wound
- All turns of bandage should be made clockwise unless there is some special reason for doing otherwise the roll should be held in the palm of the hand, with the free end of the bandage coming from the part of the roll
- Applying bandage, secure terminal extremity by pinning with safety pins or strapping adhesive
- Remove bandages by gathering folds in a loose mass. Passing mass from one hand to the other
- Examine the bandage part frequently for pain, swelling, etc

ROLLER BANDAGE TYPES
A roller bandage is a strip of gauze or cotton material prepared in a roll. Roller bandages can be used to immobilize injured body parts (sprains and torn muscles), provide pressure to control internal or external bleeding, absorb drainage, and secure dressings. Three types of bandages are the Kerlex bandage, the gauze bandage, and the elastic bandage
Kerlex bandage: the bandage is absorbent, loosely woven, and conforms easily to uneven surfaces, such as the hand, wrist, elbow, shoulder, groin, knee, ankle, and foot. The Kling bandage is similar to the Kerlex’s bandage. These bandages are used primarily for bleeding injuries
Gauze roller bandage: the gauze roller bandage is absorbent, loosely woven, cotton fabric. It does not conform well to uneven surfaces and is not to be used on areas prone to chafing such as shoulders, elbows, groin and other jointed areas. It is used primarily on bleeding injuries on the upper arm, forearm, thigh and lower leg
Elastic Roller Bandage: the elastic roller bandage is composed of cloth and elastic that allows it to stretch and retract. It conforms to uneven surfaces and applies even pressure to the area covered. It is used to apply pressure and/or restrict movement. The elastic bandage is normally used when a sprain needs to be immobilized. Make sure the bandage is not right enough to restrict blood flow unless it is used as a pressure dressing
TYPES
Circular bandage: the bandage is wrapped around the part with complete overlapping of the previous bandage turn. This is used primarily for anchoring a bandage where it is begun and where it is terminated
Spiral bandage: the bandage ascends in a spiral manner so that each turn overlaps the preceding one by one half or two-thirds the width of the bandage. The spiral turn is useful for the wrist, the finger and the trunk
Figure-of-eight: the figure-of-eight turn consists of making oblique overlapping turns that ascend and descend alternatively. It is effective for use around joints, such as the knee, the elbow, and the ankle.
Recurrent-stumps bandage: after a few circular turns to anchor the bandage the initial end of the bandage is placed in the center of the body part being bandaged, well back from the tip to be covered. Recurrent bandages are used for gingers for the hand and for the stump of an amputated limb
T-bandage: it is used to secure rectal or perineal dressing. The double “T” bandage is used for males and single “T” bandages is for the females. The strips of the “T” bandage are brought between the patients leg and is pinned to the waist band in front
MATERIALS
- Gauze
- Muslin
- Rubber
- Elastic
- Flannel
- Crinoline for plaster
- Adhesive
ASSESSING BEFORE APPLYING BANDAGE
- Inspect and palpate the area for swelling
- Inspect for the presence of and status of wounds
- Note the presence of drainage (amount, color, odor, and velocity)
- Inspect and palpate for adequacy of circulation (skin temperature, color and sensation)
- Ask the patient about any pain experienced (location, intensity, onset and quality)
- Assess the ability of the patient to reapply the bandage when needed
- Assess the capabilities of the patient regarding activities of daily living (to dress, comb hair, bath)
EQUIPMENT
Clean bandage of the appropriate material and width, safety pin, adhesive tape, and special metal clips
PROCEDURE
- Explain to patient
- Make sure that the area to be bandaged is clean and dry
- Stand opposite to the patient if possible
- Support the affected part adequately ensuring correct body alignment to prevent deformity and impair circulation
- Keep bandage roll uppermost with free and above site to be bandaged
- Bandage from below to upward
- Cover two – thirds of previous turn, avoid loose edges
- Take requires number of turns so that purpose is achieved.
- Secure the end of the bandage with tape. Metal clips or a safety pin over an uninjured area
- Document the site and type of bandage used
SPECIAL BANDAGES
- Eye bandage (monocular): bandage of 1.5-2 width is required. Place the free end of bandage at temporal region on the same side of eye to be bandaged. A piece of tape is passed under bandage on side of eye and tie so as to prevent bandage from sliding over good eye
- Binocular bandage: figure-of-eight technique is used. Start from right temporal region take one turn. Around head, down over the left eye, under right ear right eye to right to left temple. Repeat around heal to right temple following previous pattern until both eyes are covered
- Ear-mastoid bandage: bandage with 2 feet width and 5 yards length is required make circular turns around head above ears, beginning on affected side. Follow with circular turns. The first turn is taken beneath occiput, and carried high over to opposite side of head below ear
- Jaw Barton bandage: used in fracture of lower jaw and to hold dressing on chin. Bandage of 2 inches width and 5-6 yards length is required. Begin at nape of neck below occiput, carry bandage obliquely up, behind and close to ear, then under chin and up in front of left ear to top of head
- Cape line bandage (head bandage): a double roller bandage of 2 feet width and 8 yards length is required. Place center of bandage in middle of forehead and carry roller in opposite direction to occipital. Cross rollers one over other. The roller in inferior position in brought over head to middle of forehead
- Shoulder spica: a bandage of 2 ½ inches width and 8 yards is required. The spica may be either descending or ascending. The ascending type is most commonly used. While applying bandage, stand at side which is to be bandage. A pad must be placed in axilla.
BANDAGING TECHNIQUES
Guidelines in Using Dressing and Bandages
There are certain guidelines to follow to ensure proper bandaging technique.
- Use a dressing that is large enough to go beyond at least 1 inch of the wound edges
- For exposed body tissues or organs, make sure to cover the wound with non-stick dressing, e.g. moistened gauze or plastic. Secure the dressing using adhesive tapes or bandages
- For bandages over a point, keep the joint immobilized by creating a bulky dressing
- Ensure that the bandage is tight but not too tight to cut off circulation. Signs that circulation is cut off include color change (to bluish) especially of the extremities, tingling sensation, feeling cold, or swelling. Once these begin to show, loosen the bandage.
- Bandaging technique will depend on, the first aider’s skills, the size and location of the wounds, and the materials available
Triangular Bandage
The first bandaging technique to be discussed is the triangular bandage. The triangular bandage is one of the most standard contents of a first aid kit. It has plenty of uses, such as a sling to support an injury to the upper body, padding for major wounds and a bandage for immobilization purposes. It is quite easy to make and they are as follows:
- Stretch the piece of fabric that will be used. Opt to use a long stretch to create more triangular bandages, which can be used in the fracture
- Cut the fabric into a square, approximately 3 ft multiply 3 ft. cut the square diagonally into two equal halves, creating two triangle
- There are two ways to sterilize the bandages (sterilizing will reduce infection risk). First option is to pull the bandage in boiling water. The second option is to soak the bandage in hydrogen peroxide or any other disinfectant. Dry before use
- If possible, iron the triangular bandage, so it can be easily used during a time of need
Roller Bandage
The second bandaging technique to be discussed is the roller bandage. Similarly, the roller bandage is a standard for many first aid kits and has many practical uses. These include controlling bleeding, pressure bandage and keeping the dressing in place. The following are the steps to make a roller bandage:
- Allow the individual to stay in a position where they are most comfortable. Give enough support to the affected part before beginning to apply the bandage. Hold the “head” end of the bandage while using the “tail” end to wrap the affected part. Wrap the affected area only a few centimeters at a time to ensure that tightness is maintained
- After each turn, begin with a locking turn to hold the start of the bandage in place
- One has two options, whichever is more applicable. Begin from the middle part of the affected part or limb moving toward an outward direction. The second option is to begin with the narrowest part, below the dressing, and moving upward
- Ensure that each turn of bandage will cover two thirds of the prior turn of bandage
- Cover the dressing or padding used completely
- Finish with a straight turn at the end of the bandage. Use an adhesive tape to secure the roller bandage in place
CONCLUSION
Many bandages are simple to use and are available in hospitals and the community.
Many of the products can be bought over the counter and used without any supervision from a healthcare professional. Because of the range of products available today, it is no longer necessary to be able to carry out the many complicated bandaging techniques that used to be taught in nurse training, such as the application of the many-tailed bandage or the thumb spica. However, this does not detract from the fact that bandaging is a skill and the application of proper bandages requires thorough training and assessment of competence.
Selecting an appropriate method of fixation requires thought, identification of the main objectives, and common sense. The overriding objective must be to retain a dressing or support a limb but consideration must also be given to the practicalities of the patient’s daily life.
NURSING PROCEDURES LIST CLICK HERE
NURSING IMPORTANT QUESTIONS – CLICK HERE
NURSE FUNDAMENTAL PROCEDURES
MEDICAL SURGICAL NURSING
BANDAGING PROCEDURE – KEY POINTS
Bandaging is an essential nursing procedure that involves the application of dressings and bandages to wounds or injuries. Here are key points to consider when performing bandaging procedures:
- Hand Hygiene:
- Wash hands thoroughly before and after the procedure to prevent the risk of infection.
- Assessment:
- Assess the wound type, size, and condition before choosing an appropriate dressing and bandage.
- Evaluate the patient’s skin condition and any allergies to materials or adhesives.
- Gathering Supplies:
- Ensure all necessary supplies are readily available, including dressings, bandages, tape, scissors, and any prescribed topical medications.
- Explain the Procedure:
- Communicate the procedure to the patient, explaining the purpose and expected outcome.
- Obtain informed consent if required.
- Positioning:
- Position the patient comfortably, exposing the wound while maintaining their privacy and dignity.
- Wound Cleaning:
- Clean the wound gently with a prescribed solution or sterile saline.
- Use aseptic technique to minimize the risk of infection.
- Dressing Application:
- Apply the appropriate dressing, ensuring it covers the wound adequately.
- Choose dressings based on the wound’s characteristics, such as moisture level and depth.
- Bandage Selection:
- Select a suitable bandage material, considering the purpose (compression, support, or protection).
- Ensure the bandage is of the correct size and length to secure the dressing adequately.
- Technique:
- Employ proper bandaging techniques to secure the dressing without impairing circulation or causing discomfort.
- Be mindful of tension and avoid applying the bandage too tightly.
- Securing the Bandage:
- Use appropriate fastening methods, such as clips, adhesive strips, or self-adherent bandages.
- Ensure the bandage is secure but not too tight to allow for adequate blood circulation.
- Labeling and Documentation:
- Clearly label the dressing with the date, time, and initials.
- Document the procedure, including wound assessment, type of dressing used, and the condition of the surrounding skin.
- Education:
- Educate the patient and caregivers on proper care, signs of infection, and when to seek medical attention.
- Provide written instructions for home care if applicable.
- Follow-up:
- Schedule follow-up appointments to monitor the wound’s progress and reassess the bandaging as needed.
- Modify the bandaging technique based on the wound’s healing trajectory.
