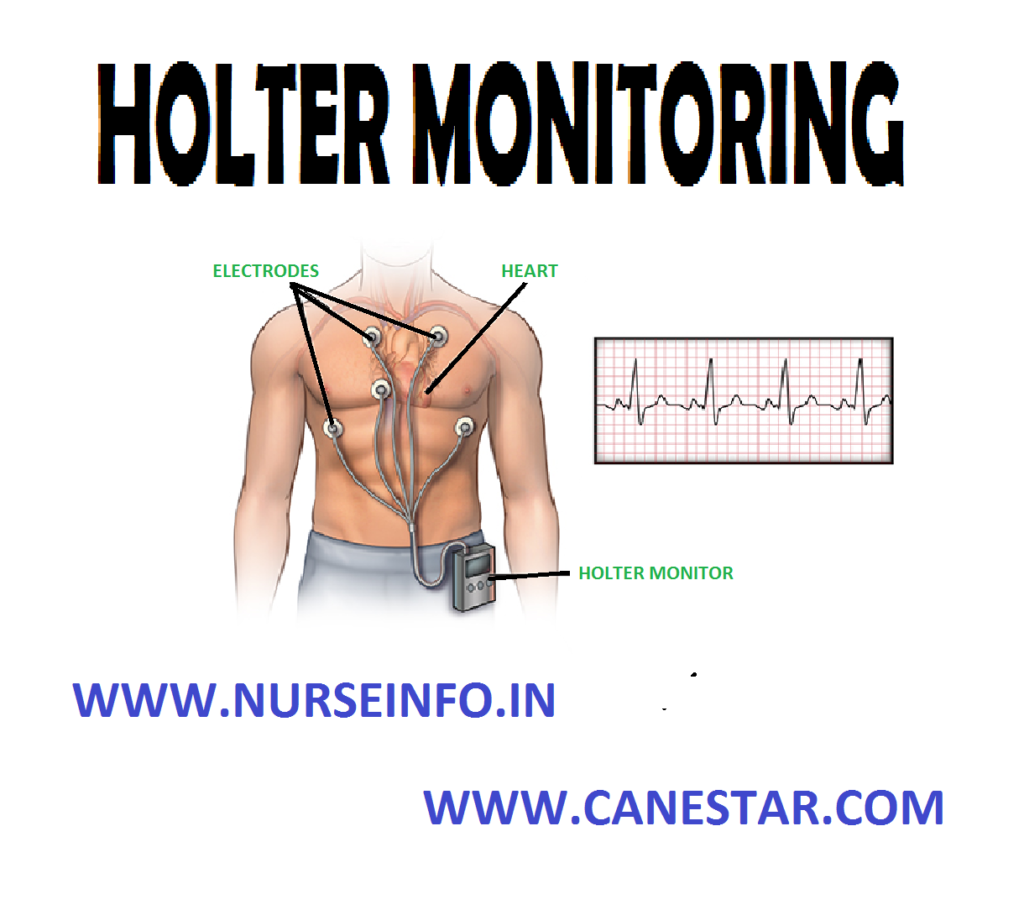
HOLTER MONITORING – Normal Findings, Definition, Purpose, Findings, Client Preparation, Components, Procedure and After Care
Holter monitoring permits the recording of cardiac electric activity over time (usually 24 hours) on a cassette tape recorder. It allows the client to perform normal daily activities can be determined. When the client wears a portable holter monitor, an ECG tracing may be recorded continuously over a period of a day or longer on an out-patient basis
Holter monitoring (ambulatory electrocardiography) evaluates the client’s heart rate and rhythm during normal daily activities, rest, and sleep over 24 hours (occasionally 48 hours). The holder monitor consists of a continuous electrocardiogram recording on a cassette tape that is boxed inside. After 24 hours, the monitor with the tape is returned to the cardiac center and is scanned or reviewed for abnormal findings such as cardiac dysrhythmia
NORMAL FINDINGS
No abnormal electrocardiography findings
DEFINITION
Holter is monitoring or 24 hours ambulatory monitoring provides a record of client’s heart rate and rhythm over a period of 24-48 hours while the client is engaged in the activities of daily living
PURPOSE
- To identify and record cardiac arrhythmias associated with normal daily activities, which cannot be detected by routine ECG
- To correlate these arrhythmias with symptoms such as syncope, palpitation, chest pain. Light headedness or dyspnea as described by the client
- To assess the effectiveness of antiarrhythmic or anginal drugs
- To evaluate the functioning of the artificial pacemaker suspected of malfunctioning
- To detect ST segment alterations during exertion in clients with obscure chest pain
FINDINGS
- Conduction disturbances
- Dysrhythmia
CLIENT PREPARATION
- Inform client regarding the purpose of the holder monitoring and the vital role he or she plays in obtaining the needed information
- Check the holter monitor’s indicator light to determine if the battery is functioning
- The client is instructed to keep a daily of activities and is taught how to trigger the event marker
- Shave the site if the chest is hairy to apply electrodes to the chest
- Have the client demonstrate triggering the event marker. The client will push the marker whenever pain or other symptoms occur
- Give the client a writing pad to record activities during the test time
COMPONENTS
- Recording apparatus: this is like a small transistor radio that can be carried over the shoulder or connected to a waist belt. This will contain a blank tape on which the heart rhythm is recorded for 24 hours
- Client’s dairy: the client recordings all activities and any unusual symptoms experienced with time
- Holter monitor scanner: it is a computer system which can scan 24 hours tape in 12-15 minutes for any arrhythmia
PROCEDURE
- Explain the procedure to the client and prepare the chest for electrodes
- Apply the electrode jelly and fix the electrodes securely to the chest
- Fix the connecting wires from each lead to the client’s skin with a stress loop to prevent accidental dislodging of the leads
- Connect the lead system to the holder recorder which is prechecked and has a blank magnetic tape and fresh batteries
- The recorder is fastened to the client’s waist using a belt. When the recorder is activated, ECG signals are recorded on the magnetic tape
- Note the time in the client’s dairy when the recorder is activated
- Explain to the client to record all the activities with time in the dairy and also any unusual symptoms experienced
- Instruct client to come back with dairy and the equipment on the next day at the specified time
- Once the client reports back put off the monitor and remove it from the client with the electrodes
- Play back the tape on the scanner and identify the areas of abnormal wave patterns
- Record these areas on the ECG paper as a permanent print out which can be analyzed later
AFTER CARE
- Remove electrodes and cleanse the site of gel
- Observe the skin for signs of irritation


